Getting Started with the Powerpoint Plugin (Windows only)

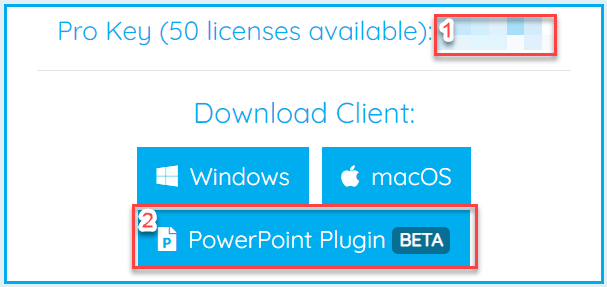
To get started make a note of your license key (1) and download the Plugin (2) from your Admin Dashboard
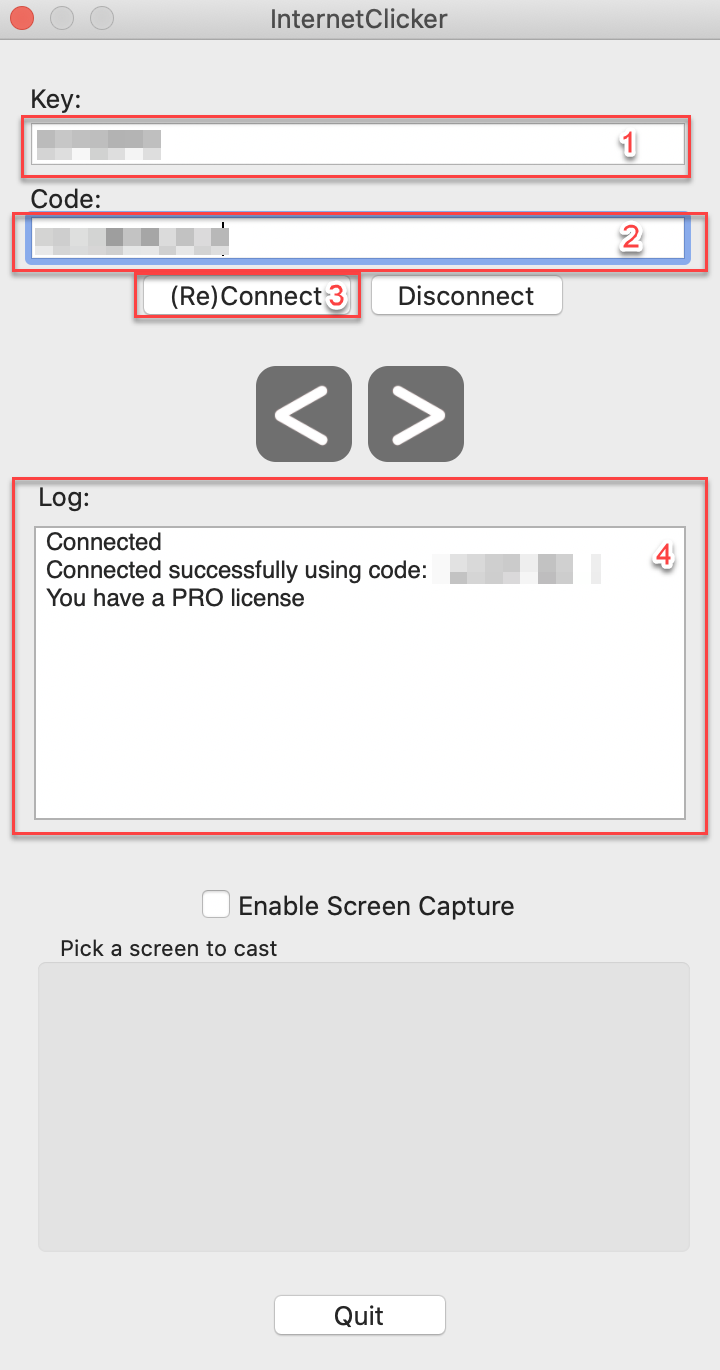
First install the downloaded application - once installed you will Internet Clicker in the Powerpoint top ribbon menu:

Follow the steps below to get started:
1. Click settings in the Ribbon (shown in screenshot above) and enter your license key from your dashboard into the Key box.
2. Make up your own code and enter it into the box. IMPORTANT: this can be anything you choose but Internet Clicker uses a shared code system so make it hard to guess and personal to your event. Do not use codes like 1234 or test1. If the code is in use by someone else the app will let you know.
3. Click the (re)connect button. This connects the app to the Internet Clicker service.
4. You will see a Connect Successfully message in the log area on the app. You are now ready to get presenters clicking!
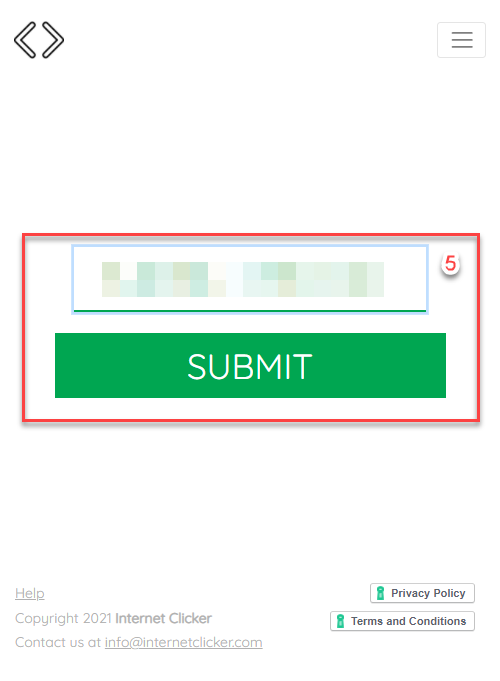
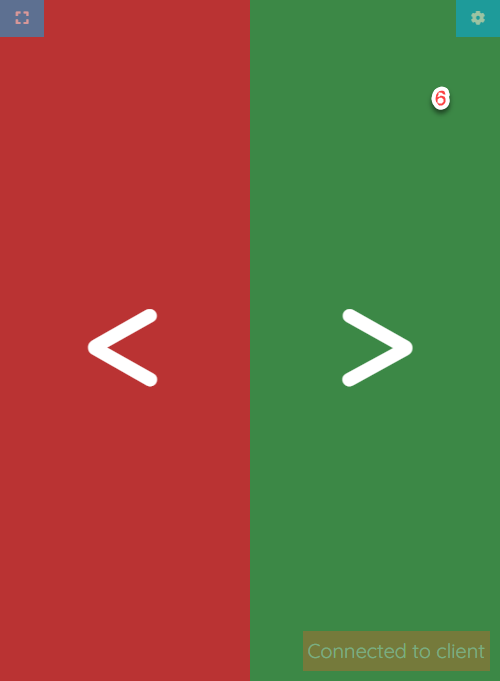
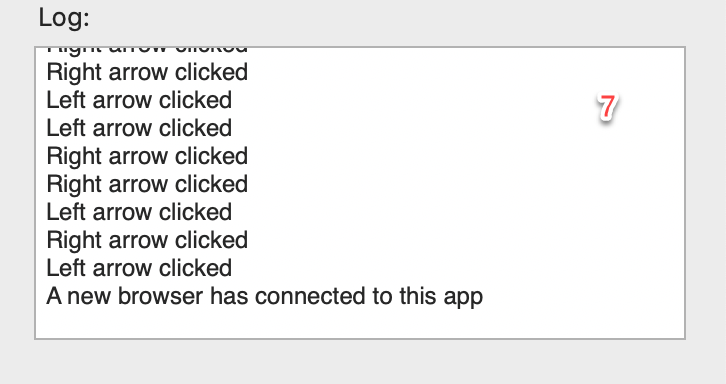
To test the clicker works, open up InternetClicker.com on another device like your smartphone or laptop and enter your chosen code, then press Submit(5). You will now see the clicker like below (6). Click left and right using the Red/Green buttons and you should see the app log show that 'A new browser has connected' and will show when anyone clicks left/right (7)
To control Powerpoint simply go into slideshow mode and then use the clicker again and slides will change whenever you or anyone clicks on the clicker.
Important: Always click disconnect where possible when you finish your event to disconnect properly from the servers.
Head back to the FAQ to get started with more advanced features!
Comments
0 comments
Article is closed for comments.